Every custom perfume bottle begins as an idea. Maybe it is a sketch on a napkin, a Pinterest board, or a reference sample from another brand. Turning that idea into a physical object you can hold, spray, and evaluate takes discipline. At our factory, we have refined the sampling process into five clear stages. Each stage has a gate. Pass the gate, and we move forward. Fail it, and we fix the issue before it becomes a $15,000 mold mistake.
This article walks you through the full journey of a custom perfume bottle from first concept to approved prototype. We will cover 3D rendering, SLA 3D printing, hand-blown pre-production samples, and the final signed-off prototype that authorizes mass production. Whether you are a first-time indie brand or a seasoned fragrance house launching a new line, understanding these stages will help you ask better questions, set realistic timelines, and avoid the most common sampling pitfalls.
Stage 1: Design Brief and 3D Render
The sampling process starts long before any glass is formed. We begin with a design brief. You send us reference images, dimensions, capacity targets, and any non-negotiables—thread spec for the pump, minimum wall thickness, or decoration zones. Our design team converts this into a 3D CAD model within 3–5 business days.
The 3D render serves two purposes. First, it validates proportions. A sketch that looks balanced on paper can feel squat or top-heavy in three dimensions. We rotate the model 360 degrees and render it under studio lighting so you can see how shadows fall across shoulders and ridges. Second, the render checks manufacturability. Undercuts, sharp internal angles, or wall thickness below 1.5 mm will flag as red lines. Fixing these digitally costs nothing. Fixing them after mold steel is cut costs $1,500–$4,000.
We typically produce two render variants. Variant A follows your brief exactly. Variant B proposes minor adjustments— a slightly wider base for stability, a rounded shoulder for easier silk-screening, or a thickened neck to accommodate standard crimp pumps. Most clients choose a hybrid. The render approval is your first gate. Once you sign off, we lock the CAD file and move to Stage 2.
Stage 2: SLA 3D Printed Model
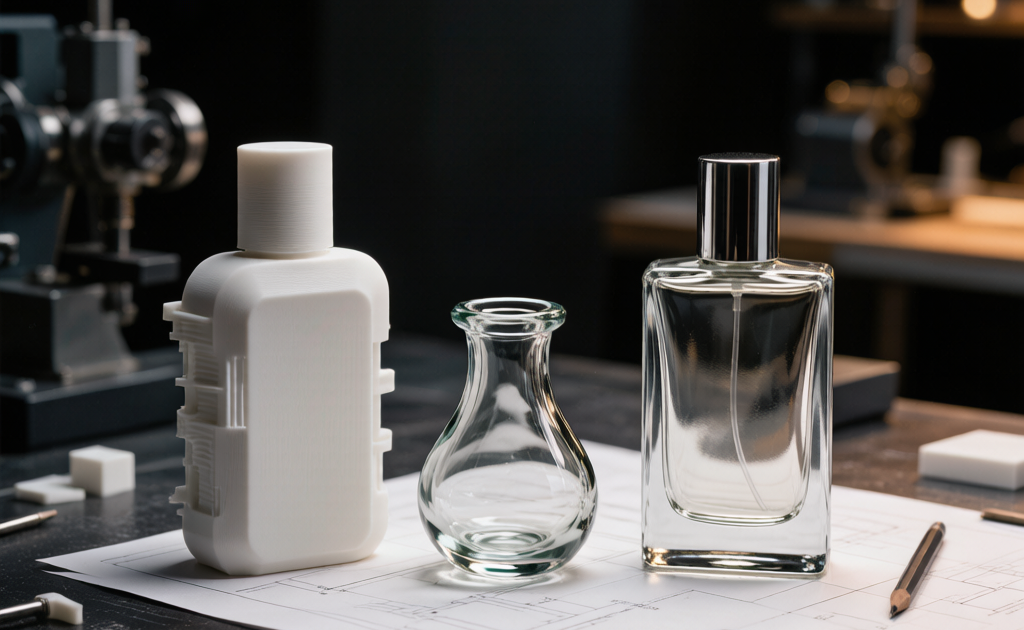
A screen render is useful, but plastic cannot simulate glass. Weight, transparency, and coolness-to-the-touch are lost. That is why we produce an SLA 3D printed model in resin. The model is hollow, sealed, and filled with water to approximate the heft of a glass bottle filled with fragrance.
The SLA model takes 2–3 days to print and finish. We sand and spray it with a clear coat so it approximates glass clarity. It is not perfect—resin has a slightly yellow tint and lacks the refractive index of soda-lime glass—but it is close enough for 90% of evaluation criteria. You can test ergonomics. Does the bottle sit comfortably in a small hand? Does the shoulder angle catch light the way you imagined? Can your label artwork wrap around the curvature without distortion?
We encourage clients to test the SLA model with their actual cap and pump. Thread fit is a common failure point. A 15 mm DIN thread on a 3D print may feel tight if the print tolerances drifted 0.1 mm. Catching this now saves a mold revision later. The SLA approval is Gate 2. Sign-off here means you are confident in shape, size, and ergonomics.
Stage 3: Hand-Blown Pre-Production Sample
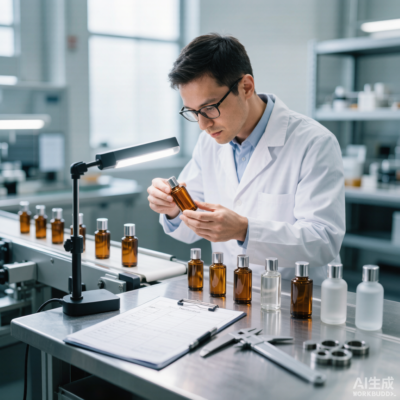
Once the SLA model is approved, we move to real glass. Our master glassblower produces 3–5 hand-blown samples using the approved CAD dimensions. These are not from production molds. They are free-blown into temporary plaster molds, so each unit has slight variation—usually ±1.0 mm on diameter and ±2.0 mm on height. That variation is acceptable at this stage. What matters is verifying the overall form in actual glass.
Hand-blown samples reveal issues no render can predict. Glass behaves differently than resin under gravity. A tall, narrow neck may sag slightly during cooling. A sharp corner may show stress lines when held to polarized light. Thick bases may trap air bubbles that rise during forming. Our glassblower notes every anomaly and suggests mold adjustments—additional cooling vents, revised parison shape, or modified blow pressure curves.
This stage also lets you evaluate decoration on real glass. We apply a test silk-screen, hot-stamp, or spray coating on one sample. Adhesion, color accuracy, and coverage are checked against your artwork. If the gold foil flakes at the shoulder radius, we know the mold needs a larger fillet before production. The hand-blown approval is Gate 3. It confirms that your design translates to glass and that decoration performs as expected.
Stage 4: Mold-Cut Prototype
With hand-blown samples approved, we order production mold steel. This is the first irreversible cost. A single-cavity perfume bottle mold runs $3,500–$8,000 depending on complexity. Multi-cavity molds for high-volume orders scale proportionally. Mold cutting takes 14–18 days for standard shapes, 21–28 days for intricate designs with side-actions or multi-part cores.
The mold-cut prototype is the first bottle formed on the actual production equipment. We run 20–50 units at low speed, checking for defects, dimensional accuracy, and decoration compatibility. Every prototype is measured on a CMM against the CAD file. Tolerance targets are ±0.3 mm on body diameter, ±0.5 mm on height, and ±0.15 mm on wall thickness.
We also run a full test suite on prototypes:
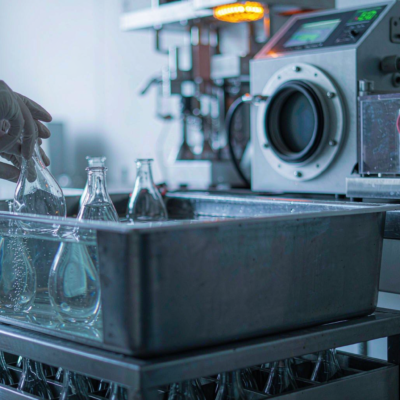
- Thermal shock: 42°C hot water bath to 5°C cold bath, repeated 5 cycles per ASTM International standards C148.
- Drop test: 1.2 m onto concrete, 10 samples, zero breakage allowed for courier-ship grades.
- Cap torque: 15–25 Ncm for crimp pumps, verified with a digital torque meter.
- Leak test: 0.5 bar internal pressure for 60 seconds, no bubble emission.
- Decor adhesion: Cross-hatch tape test per ASTM D3359, minimum 4B rating.
If any test fails, we adjust the mold and re-run prototypes. Most issues are resolved in one iteration. Complex designs may need two. Each iteration adds 5–7 days. The prototype approval is Gate 4. Once you sign the prototype approval form, we lock the mold and schedule mass production.
Stage 5: Final Sign-Off and Production Scheduling
The last gate is administrative but critical. You review the prototype test reports, confirm decoration specifications, and approve the final bill of materials. We then issue a production schedule with firm dates: raw glass arrival, forming start, decoration, annealing, QC, packing, and ex-factory.
Standard lead time from prototype approval to ex-factory is 25–35 days. Decoration adds 5–10 days. Shipping by sea to Europe or North America adds 28–35 days. We recommend planning 75–90 days total from prototype approval to warehouse arrival. Rush orders are possible with air freight, but mold cutting cannot be compressed below 14 days without risking quality.
One practical tip: order 5% more than your launch quantity. Sampling consumes 20–50 units across stages. Having buffer stock prevents stockouts if your first production run has higher-than-expected reject rates, which is common with new molds during the first 1,000 units.
Frequently Asked Questions
How long does the full sampling process take for a custom perfume bottle?
From design brief to approved prototype, expect 35–50 days. Mold cutting is the longest single stage at 14–28 days. Rush programs can compress non-mold stages, but we do not recommend cutting mold time below 14 days.
What does a perfume bottle mold cost?
Single-cavity molds range from $3,500 to $8,000. Complex shapes with side-actions or multi-part cores cost more. The mold is your property after payment, and we store it free for 3 years with active orders.
Can I skip the SLA 3D print and go straight to hand-blown glass?
Technically yes, but we strongly advise against it. The SLA model catches ergonomic and thread-fit issues at near-zero cost. Skipping it shifts risk to the mold stage, where fixes are expensive and time-consuming.
How many prototype iterations are typical?
Most designs pass in one prototype run. Complex shapes or tight tolerances may need two. We have never needed more than three iterations on a perfume bottle mold. Each iteration adds 5–7 days.
Do you provide samples before I commit to a mold?
Yes. We offer free 3D renders and SLA models for qualified orders over $5,000. Hand-blown samples carry a $200–$400 material and labor fee, credited against your first production order.
Conclusion: Sampling Is Risk Management
The sampling process for a custom perfume bottle is not bureaucracy. It is risk management. Every gate—render, SLA, hand-blown, prototype, sign-off—exists to catch a class of errors before they become expensive problems. Brands that rush sampling often pay twice: once for a mold that does not work, and again for the revised mold that does.
Our factory has produced over 400 custom molds for fragrance brands across 30 countries. We know where designs fail and how to prevent it. If you are considering a custom perfume bottle for your next launch, send us your brief. We will walk you through each stage with clear timelines, transparent costs, and no surprises. Let us turn your sketch into a bottle your customers will keep long after the fragrance is gone.