Most decoration failures do not start in the spray booth or the printing press. They start on a conveyor 30 meters upstream, where a bottle that looks perfectly clean to the naked eye still carries a film of cutting oil, annealing dust, or hard-water minerals that no amount of skilled spraying can hide. A gold logo that peels in a customer’s handbag, a frosted panel that develops cloudy patches after six weeks, a screen print that fisheyes along one shoulder — trace these back and the root cause is almost always the perfume bottle washing process that preceded it.
This guide is written for fragrance brand founders, packaging engineers, and procurement teams sourcing custom perfume glass bottles from China. It explains what actually happens between forming and decorating, which wash chemistry and drying parameters matter, and what you should put in writing when you brief a supplier.
Why Glass Leaves the Furnace “Dirty”
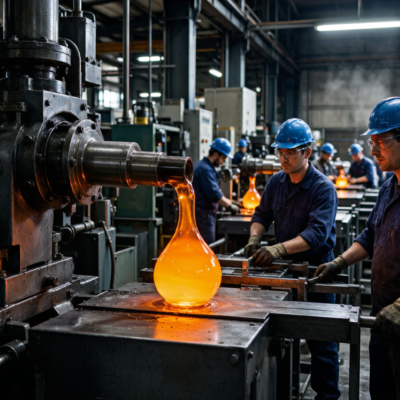
A perfume bottle is formed at roughly 1,000–1,150 °C, then travels through an annealing lehr that brings it down to ambient temperature over 30–90 minutes depending on wall thickness. Along that path it picks up four categories of contamination:
- Annealing dust and glass fines. Microscopic glass particles generated when bottles touch each other, the lehr belt, or guide rails. On a 50 ml bottle with a 2.5 mm wall, a single contact point can shed particles in the 5–50 micron range — larger than the dry film thickness of most decorative coatings.
- Cutting and cooling lubricant residues. Shear spray and swabbing compounds applied at the gob cutter and during hot-end handling leave a hydrocarbon film that is invisible under normal warehouse lighting.
- Hot-end and cold-end coating residues. Tin oxide or titanium dioxide hot-end coatings are intentional, but uneven application creates variable surface energy that shows up later as inconsistent ink wetting.
- Hard-water spotting. Any rinse stage using untreated water above roughly 120 ppm calcium carbonate will deposit mineral spots once the bottle dries. These spots sit under the coating and telegraph through as rings or haze.
The practical consequence: a bottle can pass a visual inspection at the factory and still fail a cross-hatch adhesion test after coating. Surface cleanliness is a chemical property, not a visual one.
The Standard Wash Sequence
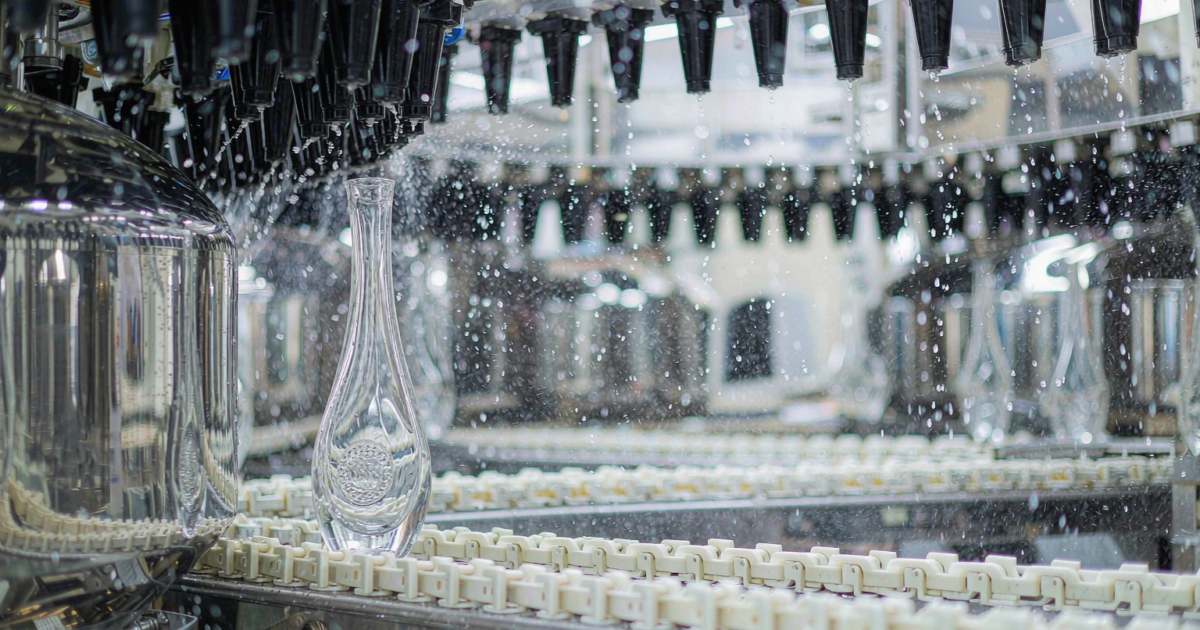
A production wash line for decoration-grade perfume bottles typically runs five stages. Understanding each one tells you what to ask for.
Stage 1 — Pre-rinse or Air Blow-Off
Before any chemistry, loose particulate is removed with filtered compressed air (typically 4–6 bar, oil-free) or a low-pressure ambient water rinse. The goal here is not cleanliness — it is to keep the main wash bath from loading up with grit that would scratch the glass. Scratches created at this stage become visible after spray coating, because coating fills and amplifies rather than hides edge defects.
Buyer note: If your supplier skips pre-rinse and goes straight to the wash bath, expect a shorter bath life and a higher micro-scratch rate. It is a legitimate cost saving for bottles that will be frosted or heavily coated, and a false economy for clear, polished, or lightly tinted bottles.
Stage 2 — Detergent Wash
Alkaline detergent, typically pH 9.5–11.0, heated to 55–70 °C, applied as a flood or spray with 45–90 seconds of contact time. The alkalinity saponifies oils; the surfactant package lifts and suspends the residue so it does not redeposit.
Two parameters matter more than the brand of detergent:
- Contact time. Dropping from 90 to 45 seconds cuts cycle time in half and is the single most common silent degradation on a line running behind schedule.
- Bath concentration and temperature. Both drift. A bath that starts at 3% and 65 °C can be at 1.2% and 48 °C by the end of a double shift without anyone noticing.
Buyer note: Ask for the bath titration or conductivity check frequency in writing. Once per shift is the minimum for decoration-grade work; twice per shift is better.
Stage 3 — Rinse (Often Two or Three Stages)
Rinsing removes detergent film. The water quality here determines whether you get mineral spotting.
- Tap water rinse — acceptable only if incoming water is softened below roughly 80 ppm CaCO₃.
- Deionized (DI) or reverse-osmosis final rinse — standard for bottles going into vacuum metallization, UV-cured ink, or any mirror-finish application. Typical specification: conductivity below 20–50 µS/cm.
Buyer note: DI rinse is a real line item. If your supplier quotes an unusually low piece price on a metallized or UV-printed bottle, check whether the DI stage exists. Its absence will show up as adhesion rejects at 3–8% instead of under 1%.
Stage 4 — Drying
Water left in the neck bore, in the punt, or between the shoulder and the collar will either dilute the first coating layer or boil out under UV cure and create pinholes. Drying is therefore a process step, not a convenience.
A typical dryer runs 60–90 °C with high-velocity air knives targeted at geometry traps: the neck bore, the underside of a heavy base, and any recessed panel designed for a label. Cycle time is usually 2–4 minutes for standard 30–100 ml bottles; heavy 100 ml+ bases with thick punts need longer or a second pass.
Buyer note: “Dried” should be defined by a measurement, not by appearance. A simple check is weighing a sample before and after a 30-minute 105 °C oven hold — mass loss should be at or below detection. The more common in-line proxy is a fixed dryer temperature plus verified line speed, with the relationship validated once per style.
Stage 5 — Cooling and Clean-Room Buffer
Bottles must return to ambient before coating. A bottle at 45 °C entering a 22 °C spray booth will condense moisture as it cools inside the booth — the classic cause of blush and fisheyes that appear “randomly” only on humid days. Buffer time of 10–20 minutes in a filtered environment is the low-cost fix.
For premium fragrance work, the cleanest arrangement is a positive-pressure buffer at ISO 9001 quality management Class 8 or better between the dryer and the booth, with the booth itself at positive pressure relative to the surrounding factory.
Washing Requirements by Decoration Method
Not every decoration route needs the same cleanliness level. Matching the wash spec to the process saves money without creating risk.
| Decoration method | Wash requirement | Final rinse | Typical rejection if under-washed |
|---|---|---|---|
| Acid frosting / satin etch | Standard alkaline wash, thorough rinse | Tap water acceptable | Uneven etch, matte patches |
| Organic spray coating (solid color) | Alkaline wash + DI rinse | DI, <50 µS/cm | Fisheyes, orange peel, poor adhesion |
| Vacuum metallization | Alkaline wash + DI rinse + ISO 8 buffer | DI, <20 µS/cm | Pinholes, mirror haze, delamination |
| Screen printing (UV) | Alkaline wash + DI rinse, verified dry | DI, <50 µS/cm | Ink lift in cross-hatch, edge crawl |
| Laser engraving | Standard wash; residue affects contrast | Tap water acceptable | Burnt haze, uneven frosted mark |
| Hot stamping / foil | Alkaline wash + DI rinse; surface energy critical | DI, <50 µS/cm | Foil voids at edges |
The pattern that matters: the thinner and more mirror-like the decoration, the more the surface must behave like a clean laboratory substrate. Vacuum metallization is unforgiving because the aluminum layer is measured in nanometers.
Surface Energy and the Dyne Test
Cleanliness is cheap to verify if you ask for the right number. The standard field method is a dyne solution test: solutions of known surface tension are brushed onto the glass, and the highest level that holds as a continuous film for two seconds is the surface energy in mN/m (dyn/cm).
- Untreated, freshly washed soda-lime glass: typically 40–45 mN/m, but it drops fast.
- After 24 hours of ambient storage: 32–38 mN/m is common.
- Minimum for reliable organic coating adhesion: 38–42 mN/m, depending on the coating chemistry.
This is why the interval between washing and decorating matters as much as the wash itself. A bottle washed on Monday and sprayed on Friday behaves like a dirty bottle. Best practice is to decorate within 24 hours of washing, or to re-wash.
Some lines add a flame treatment or a plasma step immediately before coating to restore surface energy. Flame treatment is inexpensive and effective on round bottles, but it is awkward on square or faceted shapes where the flame cannot sweep evenly — which is why premium rectangular fragrance bottles are more often plasma-treated or simply kept on a tight wash-to-coat schedule.
Common Failure Modes and Their Root Causes
Fisheyes (small craters in the coating).
Almost always silicone or oil contamination. Trace sources: mold release carried over from forming, lubricated conveyor chains, hand cream on an operator’s gloves, or silicone-containing compressed air. The fix is upstream — audit the compressed air for oil carryover and switch operators to powder-free, silicone-free gloves.
Blush or milky haze under a clear coating.
Moisture. Either the bottle was not fully dry, or it condensed in a booth that was colder than the bottle. Check the dryer exit temperature against booth ambient, and check for a missing cooling buffer.
Adhesion failure in cross-hatch testing.
Either low surface energy (storage time too long) or detergent residue left by an inadequate rinse. Run a dyne test first. If surface energy is high and adhesion still fails, the problem is residue — increase rinse stages or refresh the rinse water more often.
Dust nibs in the finish.
Ambient particulate. This is an environment problem, not a wash problem, but the wash line is the last chance to remove it. Check that the buffer zone is at positive pressure and that the dryer’s final air knives use filtered air.
Water spots visible after coating.
Hard water in the rinse. Confirm conductivity or hardness readings on the final rinse and confirm the dryer is actually evacuating the punt — heavy-base bottles with a deep punt are the most likely to hold a few drops.
What to Put in Your Supplier Brief
Ambiguity here is expensive, because a washing problem surfaces only after thousands of decorated bottles are already made. Specify:
- Wash chemistry and parameters — detergent type, pH range, bath temperature range, and minimum contact time.
- Final rinse quality — tap, softened, or deionized, with a measurable limit (hardness in ppm or conductivity in µS/cm).
- Drying parameters — dryer temperature, dwell time, and the acceptance criterion for dryness.
- Wash-to-decorate interval — a hard maximum, typically 24 hours, with re-wash required beyond it.
- Surface energy acceptance — dyne level measured on a defined sample size, typically 5 pieces per pallet or per 1,000 units.
- Buffer environment — filtered, positive pressure, and defined particulate class if the bottle is going into metallization or clear coating.
A supplier that can answer all six without hesitation is a supplier that has been through these failures already. A supplier that answers “we always wash the bottles” is one you will be troubleshooting with in three months.
Cost and Lead-Time Impact
Adding a DI rinse stage and a filtered buffer typically adds USD 0.01–0.03 per bottle on a 50 ml style at 10,000-piece volumes, and adds one to two days to a first-article cycle because the line has to be validated. Against that, a 5% decoration rejection rate on a USD 1.20 decorated bottle costs more than the entire washing upgrade — before you count the air-freight re-run that usually follows a failed launch shipment.
For brands running two-tone spray coating or UV-cured inks, the wash spec should be treated as part of the decoration spec, not a separate upstream step. These processes are far less tolerant of residue than conventional single-color spraying.
How This Fits the Broader Process Chain
Washing sits between IS machine forming and neck fire polishing on one side, and the spray booth environment on the other. Each handoff is a place where a defect can be introduced or prevented. When a decoration issue appears, working backward through this chain — booth, buffer, dryer, rinse, wash, forming — finds the cause far faster than adjusting coating parameters and hoping.
Bottles that will carry a label rather than direct print are somewhat more forgiving, because the label adhesive can tolerate slightly lower surface energy than a direct coating. But “more forgiving” is not “immune,” and the same wash discipline protects both routes.
FAQ
Why do perfume bottles need washing if they come straight from the furnace?
Because forming and annealing leave four types of contamination that are invisible to the eye: glass fines from line contact, hydrocarbon lubricants from cutting and hot-end handling, uneven hot-end coating residues, and hard-water spotting from any ambient rinse. A bottle can look clean and still fail a cross-hatch adhesion test after coating, because cleanliness is a chemical property measured by surface energy, not a visual one.
What is the minimum water quality for the final rinse?
It depends on the decoration. Ambient tap water is acceptable for acid frosting or laser marking, but any organic spray coating, UV-cured ink, or vacuum metallization should use a deionized final rinse. A practical specification is conductivity below 50 µS/cm for spray and UV work, and below 20 µS/cm for metallization. If incoming water exceeds roughly 120 ppm CaCO₃, a softened pre-rinse is also needed to prevent mineral spotting.
How long can bottles sit between washing and decorating?
Twenty-four hours is the practical maximum. Freshly washed soda-lime glass measures around 40–45 mN/m surface energy and drops to 32–38 mN/m after a day of ambient storage, while most organic coatings need 38–42 mN/m for reliable adhesion. Beyond 24 hours the bottle should be re-washed, or the line should add a flame or plasma treatment immediately before coating to restore surface energy.
What causes fisheyes in spray coating, and how do you prevent them?
Fisheyes are almost always silicone or oil contamination. The usual sources are mold-release carryover from forming, oil carryover in the compressed air supply, lubricated conveyor chains, and silicone-containing hand cream on operator gloves. Prevention is upstream: use oil-free compressed air, audit the air supply, switch to powder-free silicone-free gloves, and keep the wash bath chemistry within its specified titration range so oils are removed rather than redistributed.
Does adding a deionized rinse and clean buffer meaningfully increase cost?
The incremental cost is small — roughly USD 0.01–0.03 per bottle on a 50 ml style at 10,000-piece volume, plus one to two days of first-article validation time. Compare that to a 5% decoration rejection rate on a USD 1.20 decorated bottle, which costs more than the upgrade itself before accounting for the air-freight re-run that typically follows a failed launch shipment.